Insta-Next: Deploying Next.js on Vercel / using Docker
Finally, we are going to launch our Next.js app live! You can learn about deploying it on Vercel or using Docker in this part.


In this part, you are finally going to learn about deploying the Next.js app we have built so far online! I will also show you how to set up a PostgreSQL database online and deploy our Prisma Schema there.
There are many ways you can deploy it, and over here, I'm just showing 2 of the methods to deploy it. The first one is the easier, which is deploying on Vercel and the second will be slightly more difficult using Docker on Render.
Note: we usually just need to set up deployment once, and it'll be automatic later.
If you didn't follow along for the past parts, check out the complete codes since the last part here.
PostgreSQL Database
Note: now you can use Vercel's own PostgreSQL database for it.
Before we can deploy our Next.js, we will first take a detour to set up a PostgreSQL database first.
Why? Because our Next.js app is a full-stack web application that has a backend part that needs to communicate with a database. Without the database, our website is as good as nothing since it can't even handle authentication!
Again, there are many available PostgreSQL services online that you can use, but particularly I'm looking for a free and quick-to-setup database. After researching, I've decided to go for Elephant SQL.
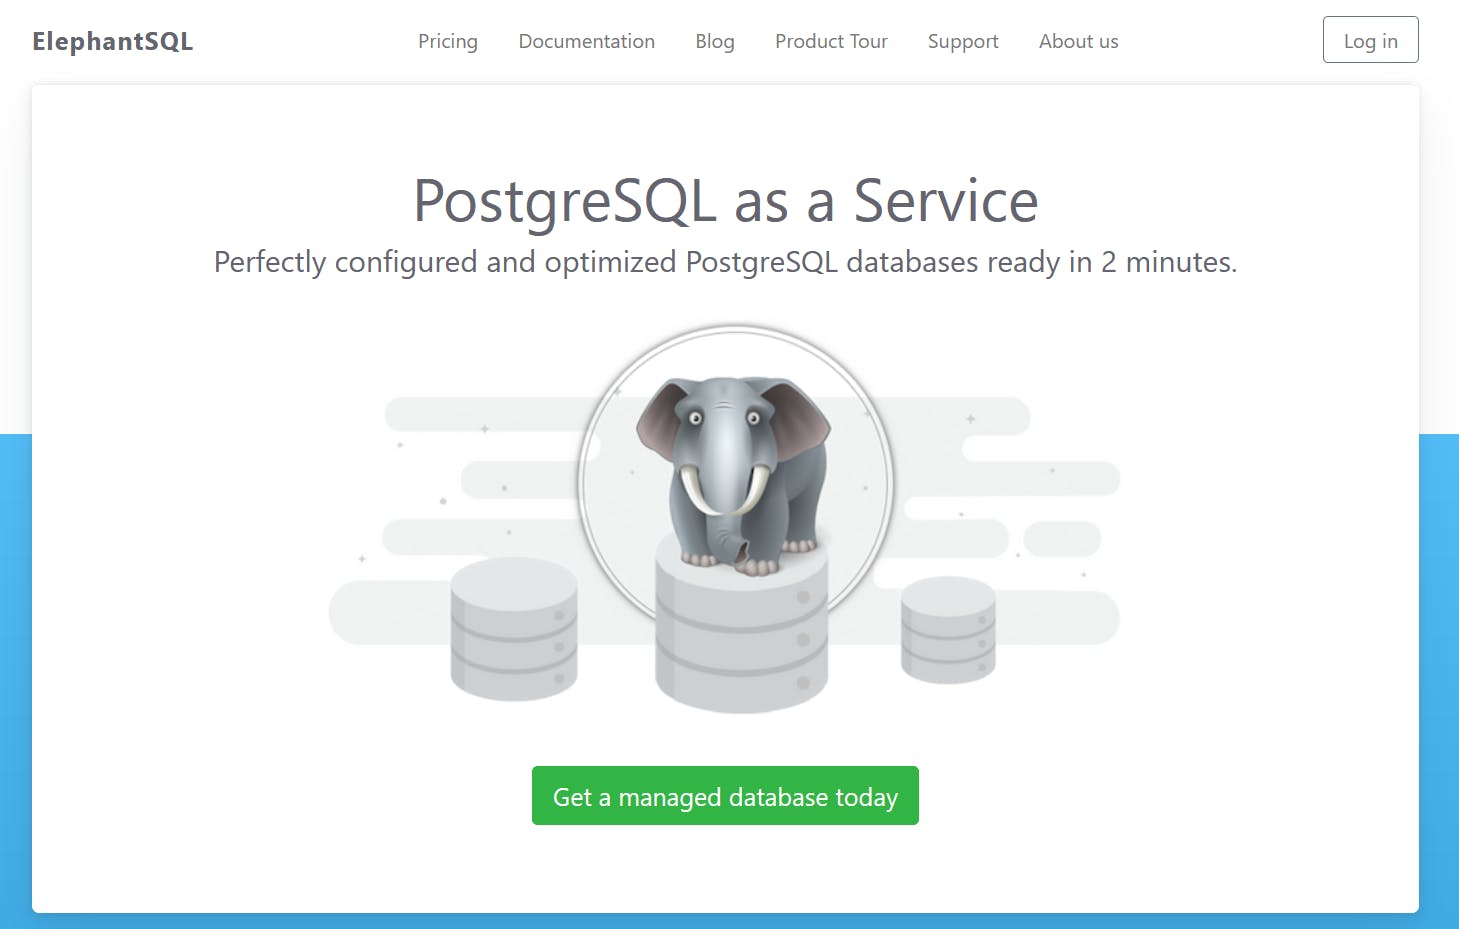
The most important part that attracted me is its free plan. Nevertheless, even if you decided to pick other options, the experience should be similar too.
I mean I'm not going to pay for a database for an article, right?
Note: Elephant SQL has a limit of 5 concurrent sessions on free plan, so it might cause some hiccups on the actual apps later.
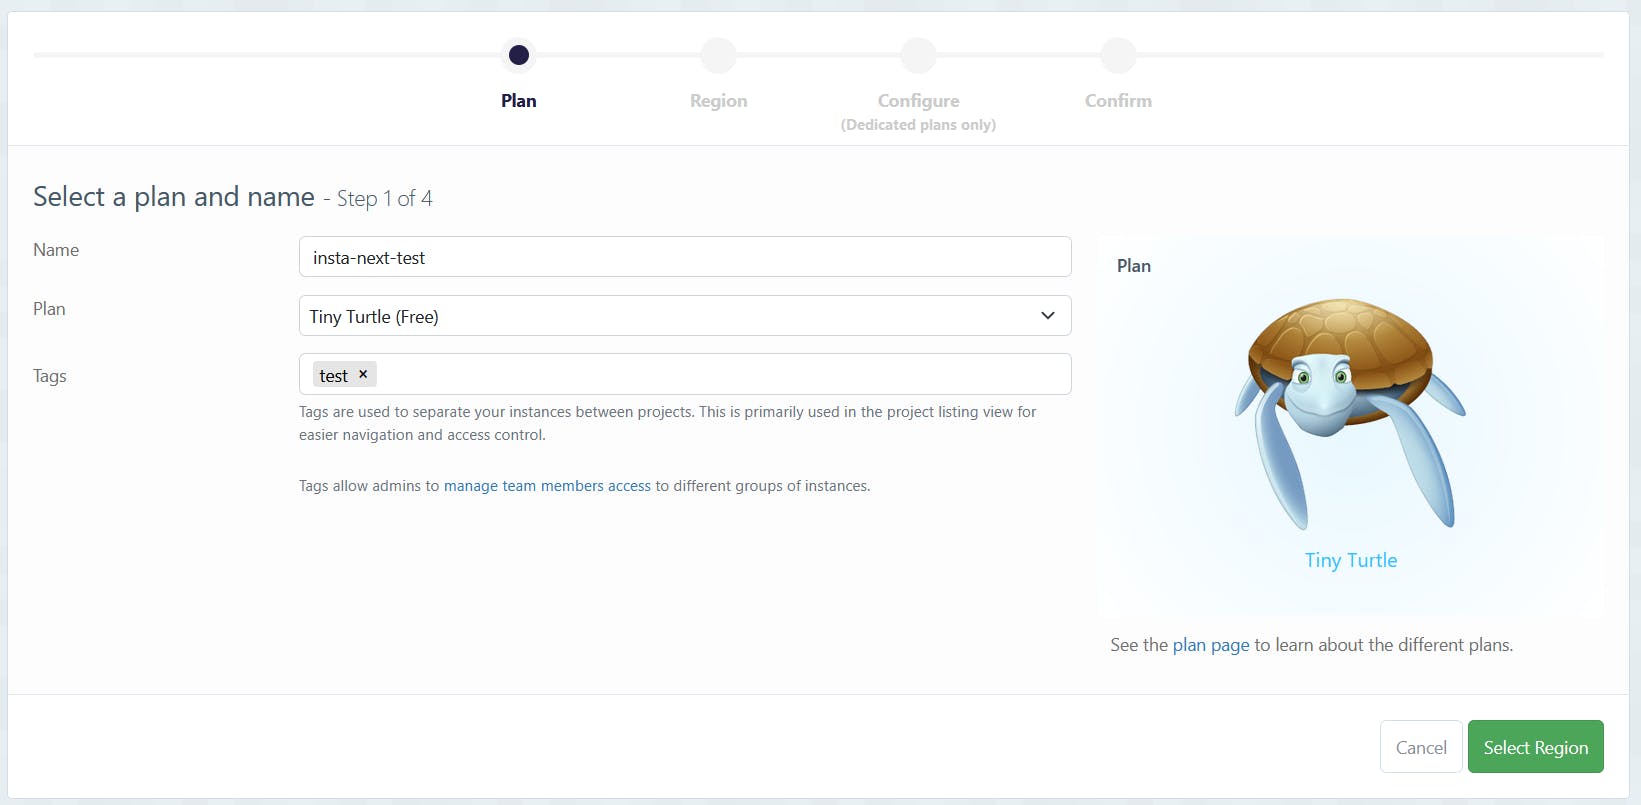
Creating an Instance
After signing up, you can create a new instance, which is a PostgreSQL service. Next, we just need to fill up some basic info about names and things. Feel free to name it however you like of course.
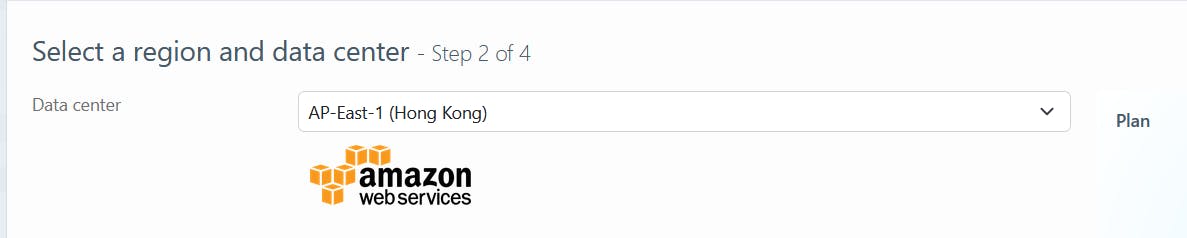
When it comes to database / server location, we should always pick a location that's the nearest to our customers. Thus, I selected Hong Kong as I'm from Asia, and Hong Kong is the nearest option to my location.
The next two parts are just confirmation and trivial. So there we are, a functional PostgreSQL database for our use.
Database Credential
Back to the PostgreSQL dashboard, you can select the instance that you set-up just now (or be redirected there after creating one)

Opening it up, you should see a list of important information
You wouldn't want to show the details to others, else they can access your database easily.
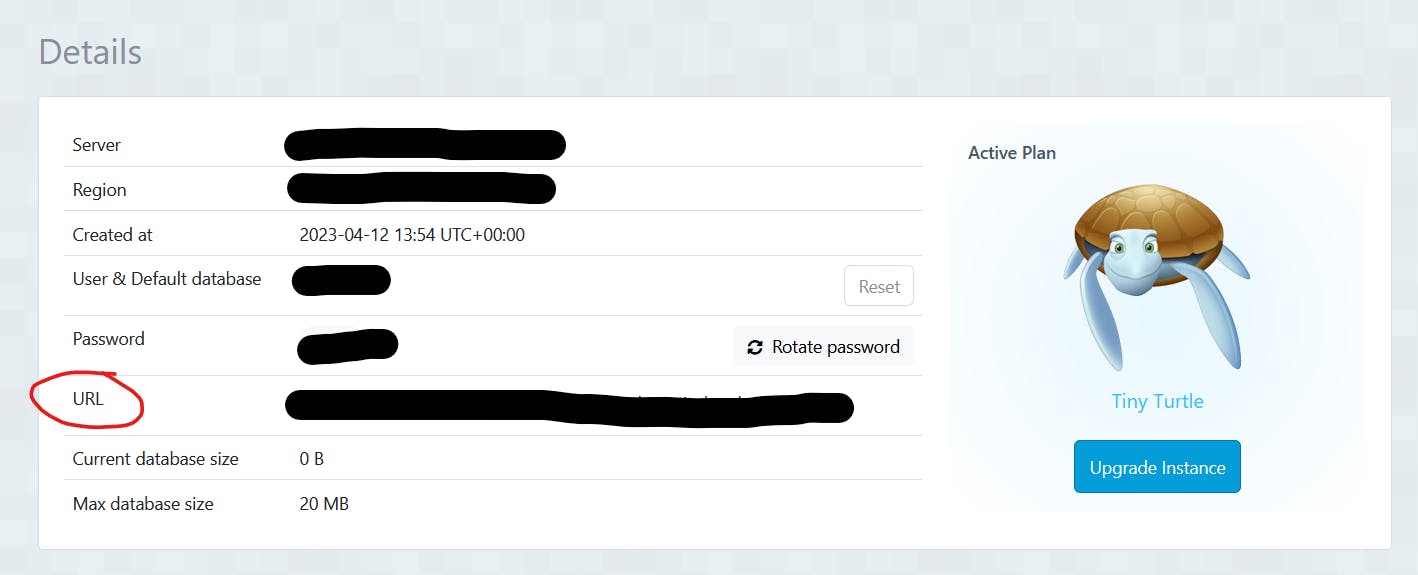
Among all, the only detail that is of our interest is the URL. It'll be used to set DATABASE_URL for our environmental variables in .env. Copy the URL because we will need it later.
Deploying Prisma & Seeding
Now that you have the URL, let's head back to our codes. Open up your .env file, and replace your DATABASE_URL with the URL you have copied.
PS: Remember to wrap them in quotes because they are string
PS2: I usually like to just comment the variable so that I can switch easily between local and remote database.
# .env
# DATABASE_URL="postgresql://postgres:secret@localhost:5432/instanext";
DATABASE_URL="the_url_you_have_copied"
Finally, let's deploy our Prisma schema over the database. Let's run migrate deploy
npx prisma migrate deploy
There shouldn't have any problem unless your DATABASE_URL is misconfigured. At this point, you can either just trust that it works, or if you're a paranoia like me, connect to the database using clients like my favorite DBeaver.
You can connect to it easily using the database details we got earlier
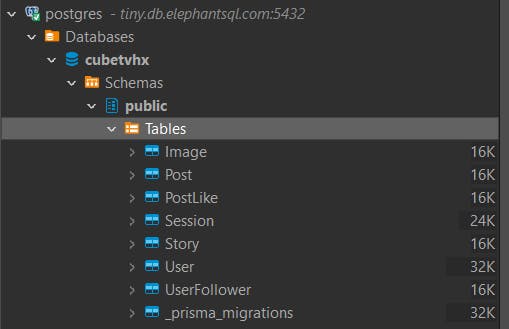
I checked that it's been connected successfully. You might also want to run seeding a few times to fill the database with some values.
I ran a few times to get more values
yarn seed
And you're done with the database now!
Option 1: Vercel
If you haven't already known, Next.js is created by Vercel.
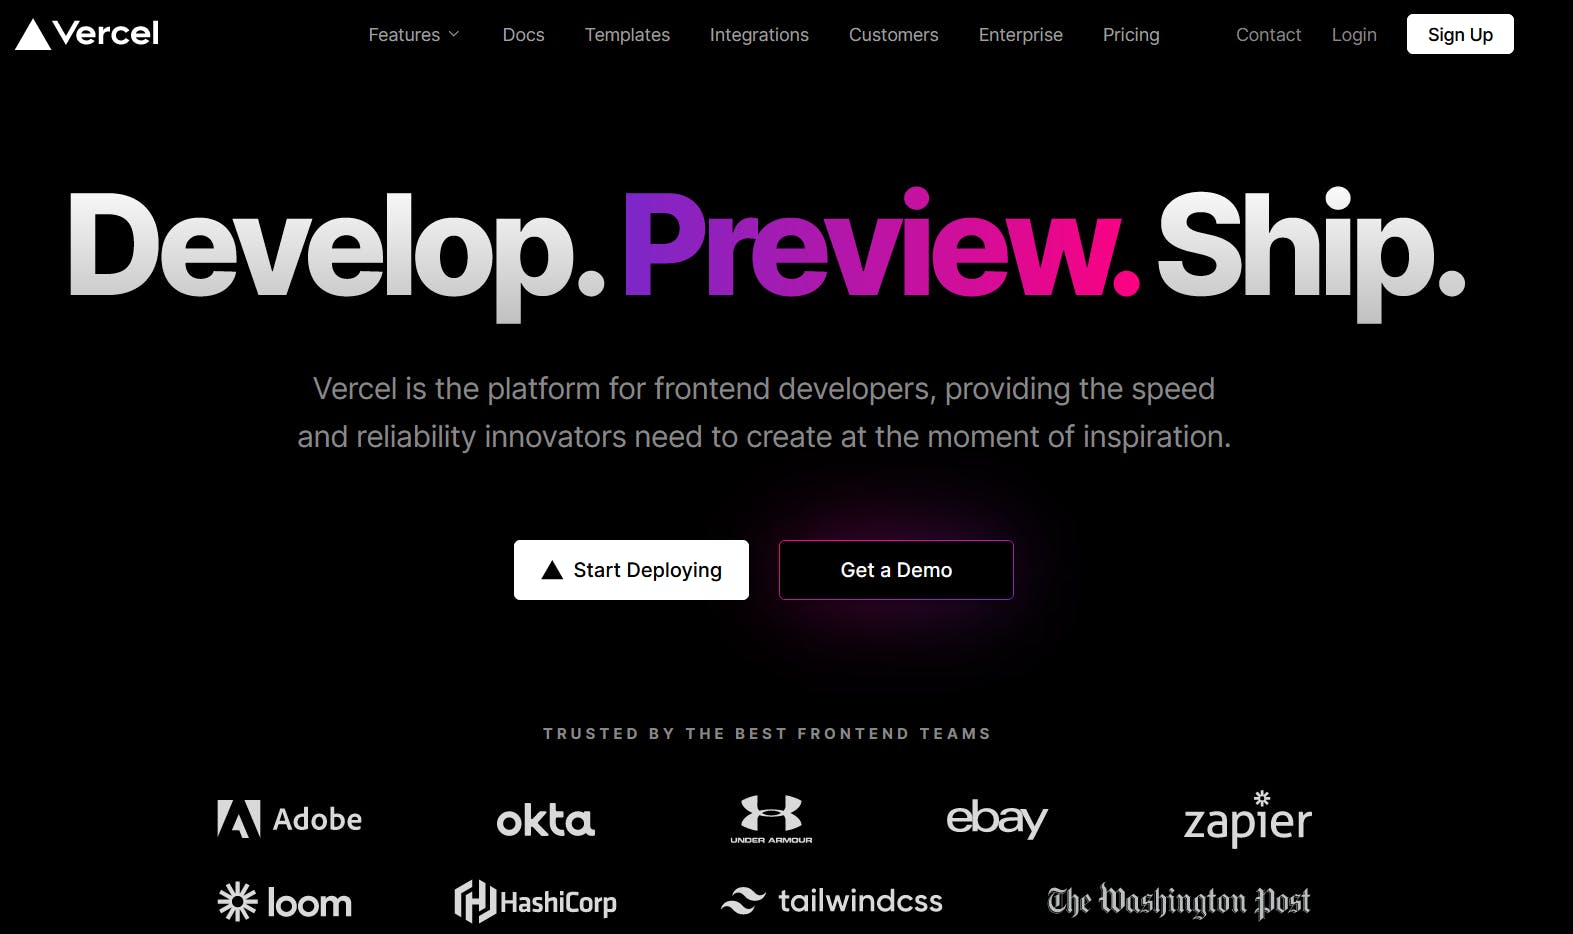
Vercel is a hosting platform that lets you host your Node projects (mainly frontend frameworks like Next.js, Nuxt, Svelte Kit). Again, the best part about Vercel is that it offers a free plan (Hobby).
Setting Up Build Script
As we are building a fullstack application using Prisma here, we need do a little minor update to the build script. Otherwise, when the project is being built, it will encounter Type Error as Prisma Types are absent.
Let's head back to our package.json, we will update the build script there to first generate the Prisma types with prisma generate before running next build.
{
  "scripts": {
    "dev": "next dev",
    // update this line
    "build": "prisma generate && next build",
...
after finishing, remember to push the codes back to main branch so that Vercel can detect the updated script later.
Getting Started
It's very simple to set it up, just register an account with it. I'd recommend you to sign up with your GitHub account as we are going to connect Vercel to your GitHub later. (It makes your life a little easier, since you're going to connect to it anyways)
You should get to this page after signing up.
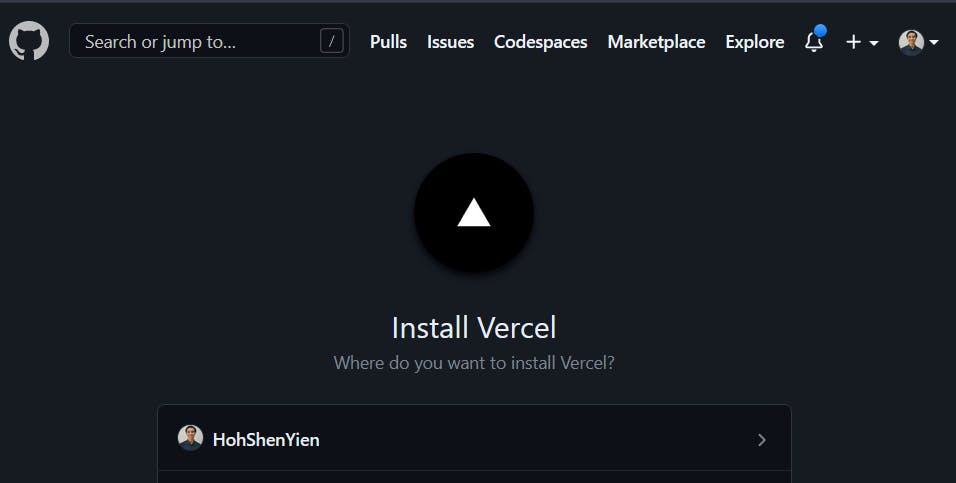
Over here, it'll probably prompt you to install Vercel on your GitHub, just install it so that it can connect to your repo and set up some commit hooks on your selected repository.
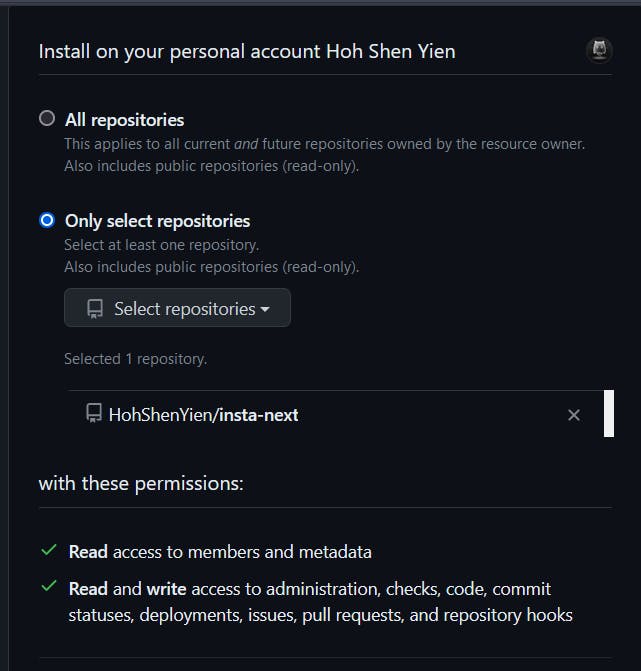
PS: The commit hooks will notify Vercel to deploy the project whenever there's new commit to the project
Then, you can select either all repositories, or specific repositories. Over here, I've only selected my insta-next repository. It's totally up to you which option to select.
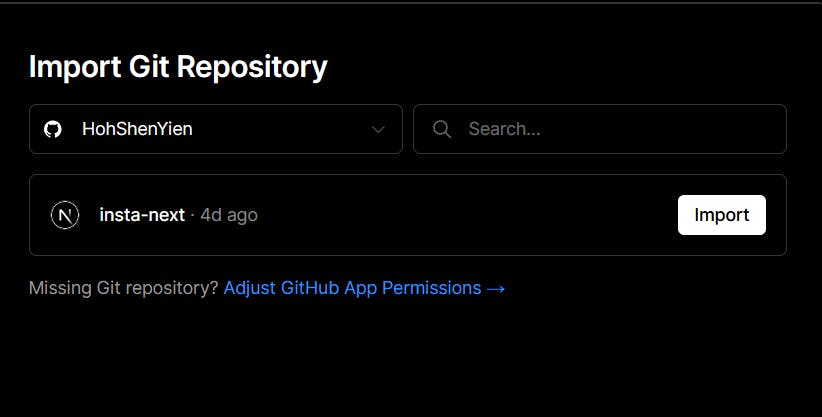
You should see a repository there after confirming the access. Import the insta-next repo.
Configurations
You can now see some configurations there. Normally, the defaults will work fine.
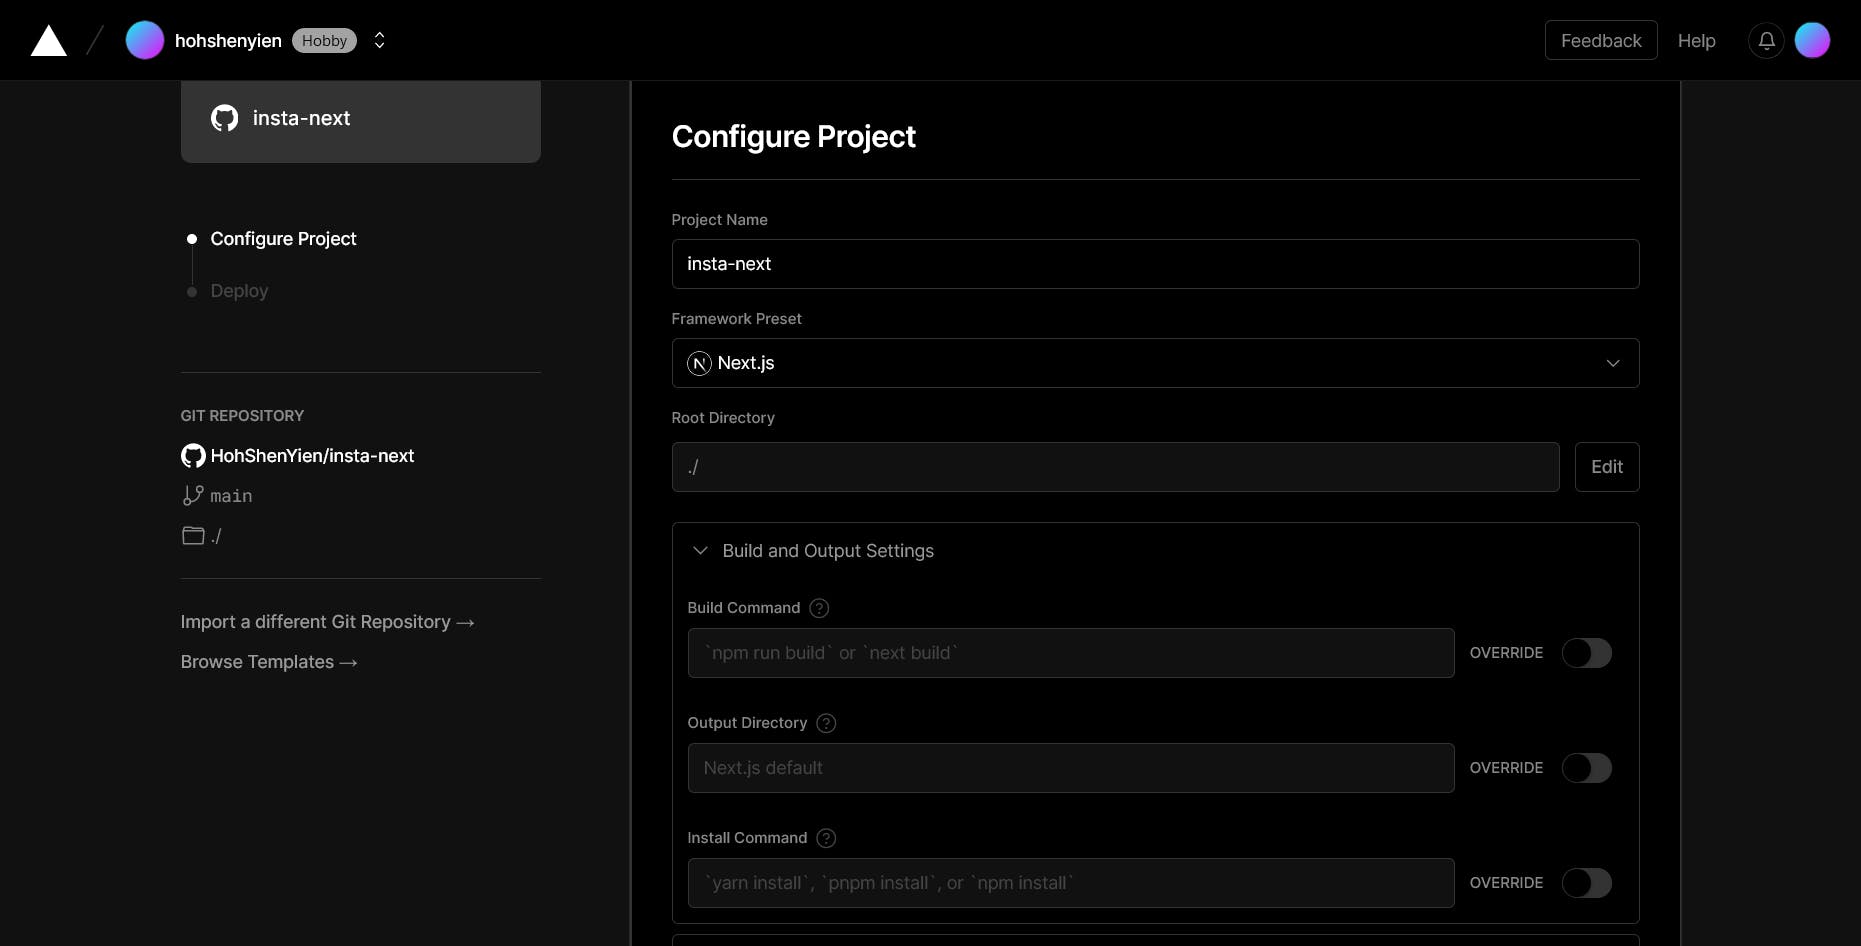
However, since we made some changes to our build script, we will override the build commands to use npm run build to run the build script we wrote. (Just in case Vercel uses next build instead of npm run build)

Finally, scroll down and expand the Environment Variables.
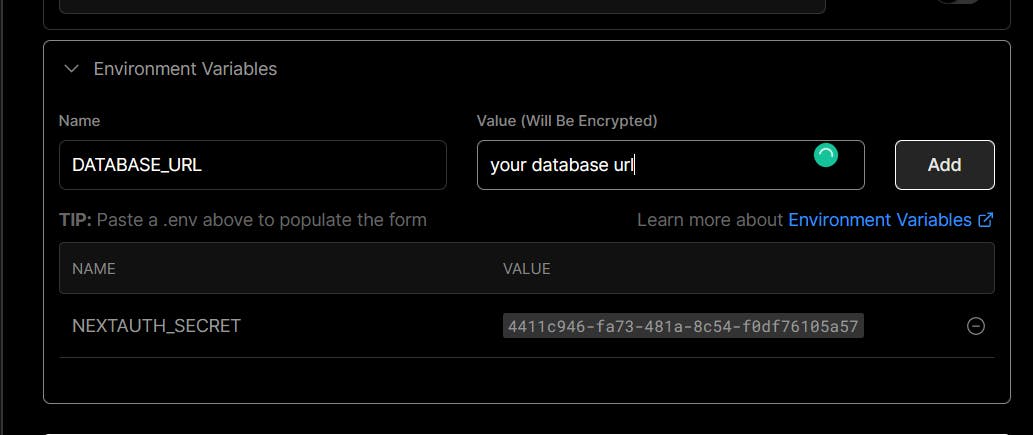
You should add both DATABASE_URL and NEXTAUTH_SECRET environment variables. Just copy the variables from your .env file. In the end, the table below should consist of two rows
Deployment
After completing the configurations, we are done with everything. Click the DEPLOY button now.

It should now begin to build, sit back and take a sip of water while waiting.

After a while, it's done!
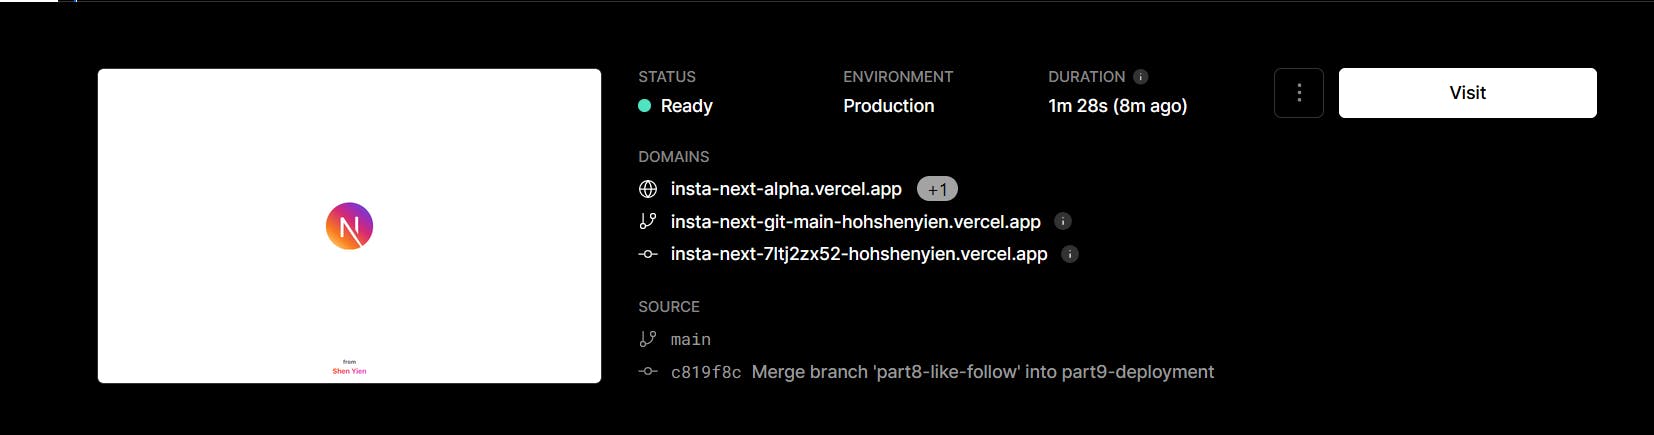
You can now click the domains given there and launch the app!
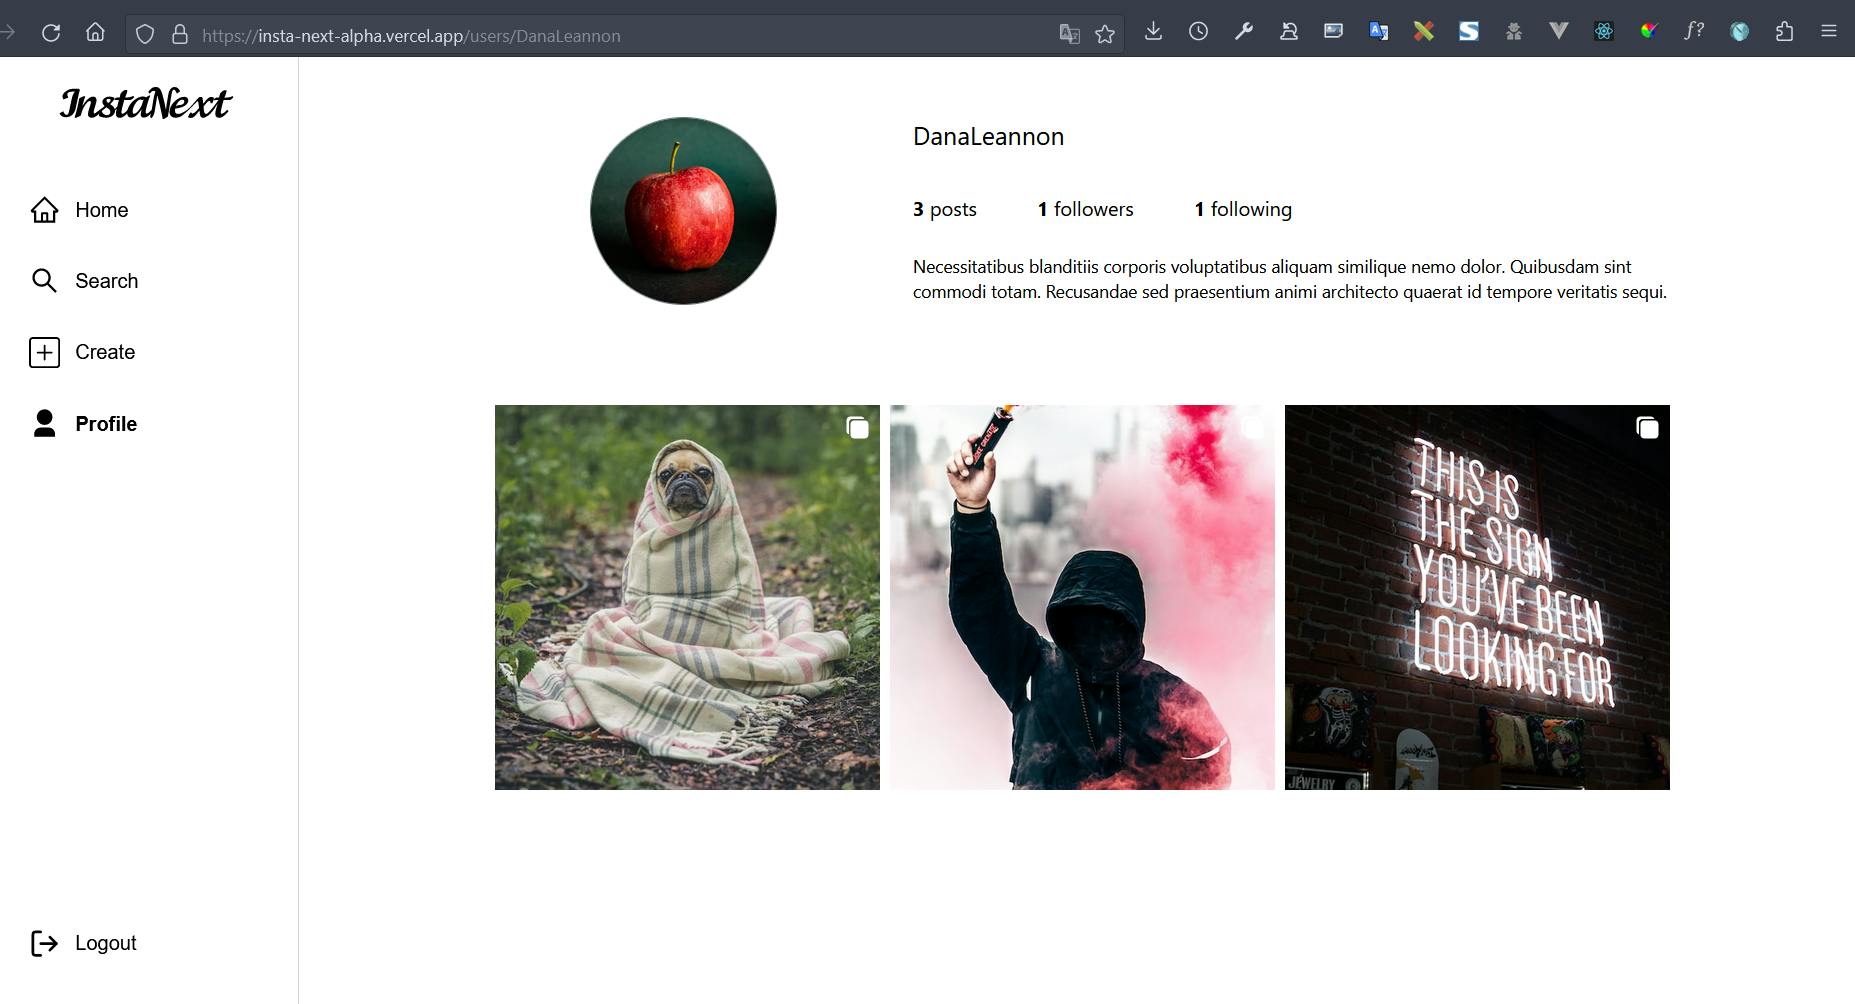
It's https://insta-next-alpha.vercel.app for me, so probably something else for you.
Awesome!
PS: However, you might notice some places being a little off, where posts won't load at the front page, that's due to the database's limitation where there can be only 5 active connections, leave it a while and it'll show up fine later.
Note that we don't need to manually deploy anymore unless you're changing the build process. Vercel has set up a deploy hook on our repo, so whenever there's a new commit, the project will be redeployed again.
Docker
Compared to using Vercel, Docker will be a harder way because it requires you to know how Docker works.
Dockerfile
Luckily for us, Next.js has provided a Dockerfile script that we can use. Let's copy over to our project. For convention, we will put it in /docker/Dockerfile.
The explanation of what it does is a bit beyond the scope. Nevertheless, it basically builds the Next.js app, export and serve it.
# /docker/Dockerfile
FROM node:18-alpine AS base

# 1. Install dependencies only when needed
FROM base AS deps
# Check https://github.com/nodejs/docker-node/tree/b4117f9333da4138b03a546ec926ef50a31506c3#nodealpine to understand why libc6-compat might be needed.
RUN apk add --no-cache libc6-compat

WORKDIR /app

# Install dependencies based on the preferred package manager
COPY package.json yarn.lock* package-lock.json* pnpm-lock.yaml* ./
RUN \
  if [ -f yarn.lock ]; then yarn --frozen-lockfile; \
  elif [ -f package-lock.json ]; then npm ci; \
  elif [ -f pnpm-lock.yaml ]; then yarn global add pnpm && pnpm i; \
  else echo "Lockfile not found." && exit 1; \
  fi


# 2. Rebuild the source code only when needed
FROM base AS builder
WORKDIR /app
COPY --from=deps /app/node_modules ./node_modules
COPY . .

RUN yarn build

# 3. Production image, copy all the files and run next
FROM base AS runner
ARG DATABASE_URL
ARG NEXTAUTH_SECRET
WORKDIR /app

ENV NODE_ENV=production

RUN addgroup -g 1001 -S nodejs
RUN adduser -S nextjs -u 1001

COPY --from=builder /app/public ./public

# Automatically leverage output traces to reduce image size
# https://nextjs.org/docs/advanced-features/output-file-tracing
COPY --from=builder --chown=nextjs:nodejs /app/.next/standalone ./
COPY --from=builder --chown=nextjs:nodejs /app/.next/static ./.next/static


USER nextjs

EXPOSE 3000

ENV PORT 3000

CMD ["node", "server.js"]
PS: Dockerfile will be sufficient for our use case here, alternatively, you might want to use their docker-compose.yml if you're using docker compose
PS2: I've removed the line COPY .env.production.sample .env.production since we are not using any .env file here, rather we use environment variables.
PS3: The environment variables will be passed in the form of build-arg, basically means that they'll be passed to the docker container from the commandline, so I added ARG DATABASE_URL and ARG NEXTAUTH_SECRET so that these variables will be retrieved and used in the images.
One minor change is that the Next.js output mode should be updated to "standalone" which is the mode suitable for Docker deployment. This can be updated from next.config.js.
Check out their docs for the explanation if you're curious.
// next.config.js
/** @type {import('next').NextConfig} */
const nextConfig = {
  reactStrictMode: true,
  output: "standalone" // this is required for Docker
}

module.exports = nextConfig
And everything is done with the codes, commit and push the changes.
Render
For docker, I've selected Render host it.
Like Vercel, it's a hosting platform, but it can host a lot more types of services. Also, it provides free hosting service, that's why I used it.
I also had some good experience deploying there, so yeah.
Getting Started
Just sign up for an account, and once you're done, you should see the dashboard.
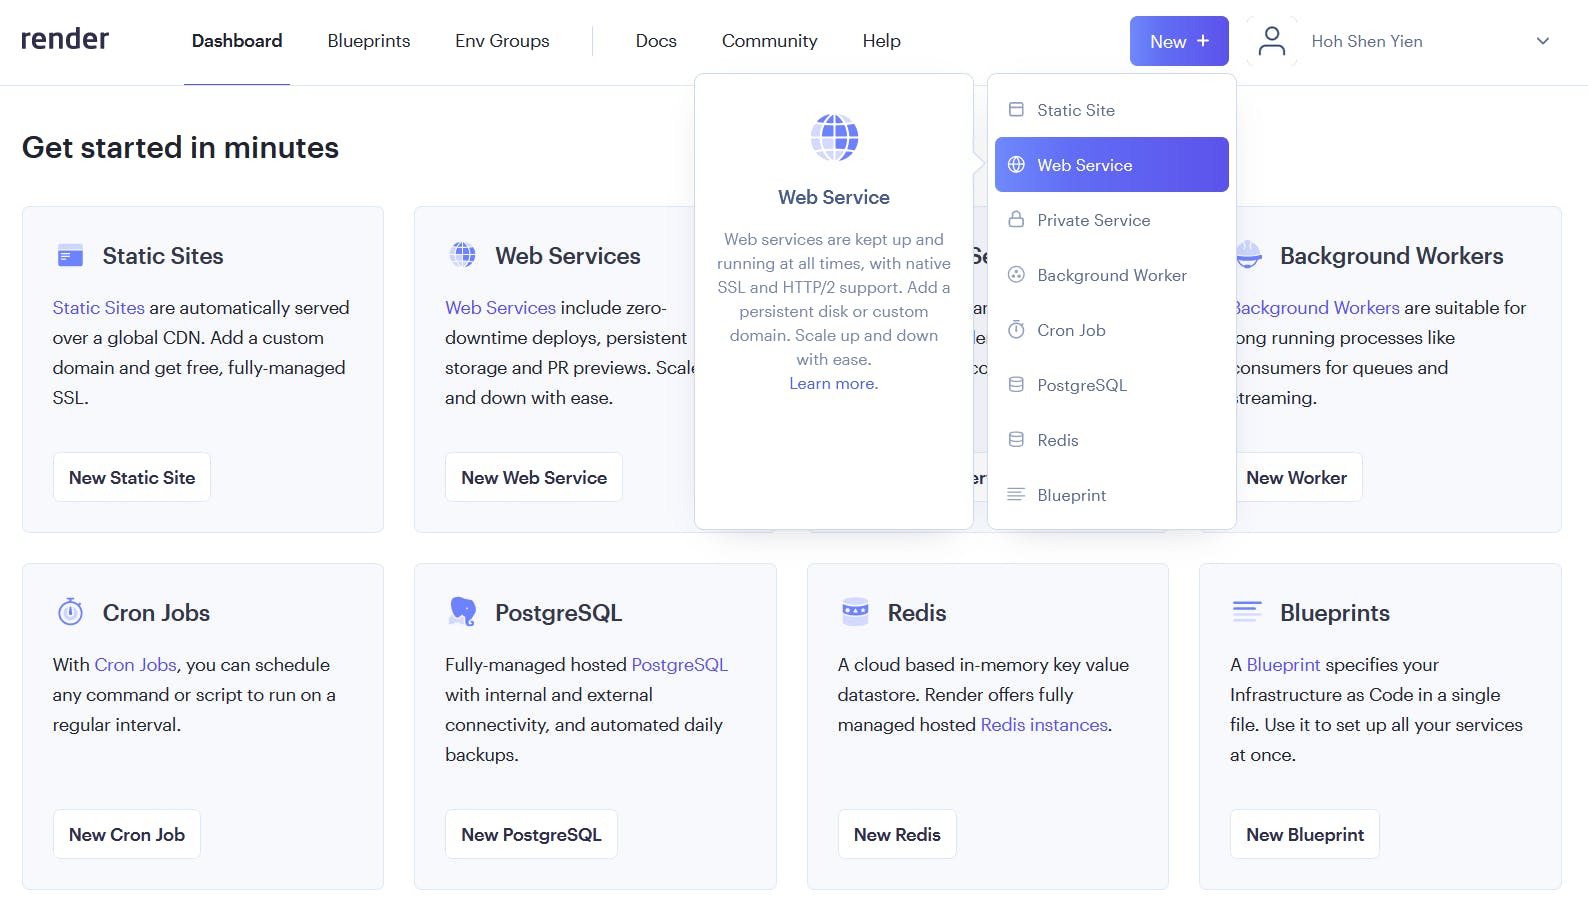
Hover over the New button on the top right, and select the Web Service, it's what we're going to host. (Or just click on the New Web Service, it's the same, no idea why I took an extra step there...)
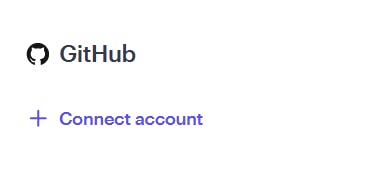
Next, you should see GitHub connection on the right, I had an account prior to this, so I need to connect manually here.
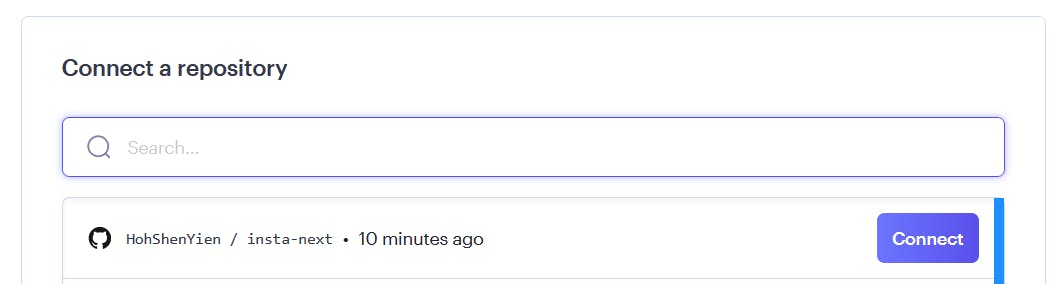
Then, just like Vercel part, I selected insta-next repo.

After installation, you should see the repo showing in the list, click Connect
Configuration
After connecting, you should see a list of configurations. I named it insta-next and other things there can be kept as they are.
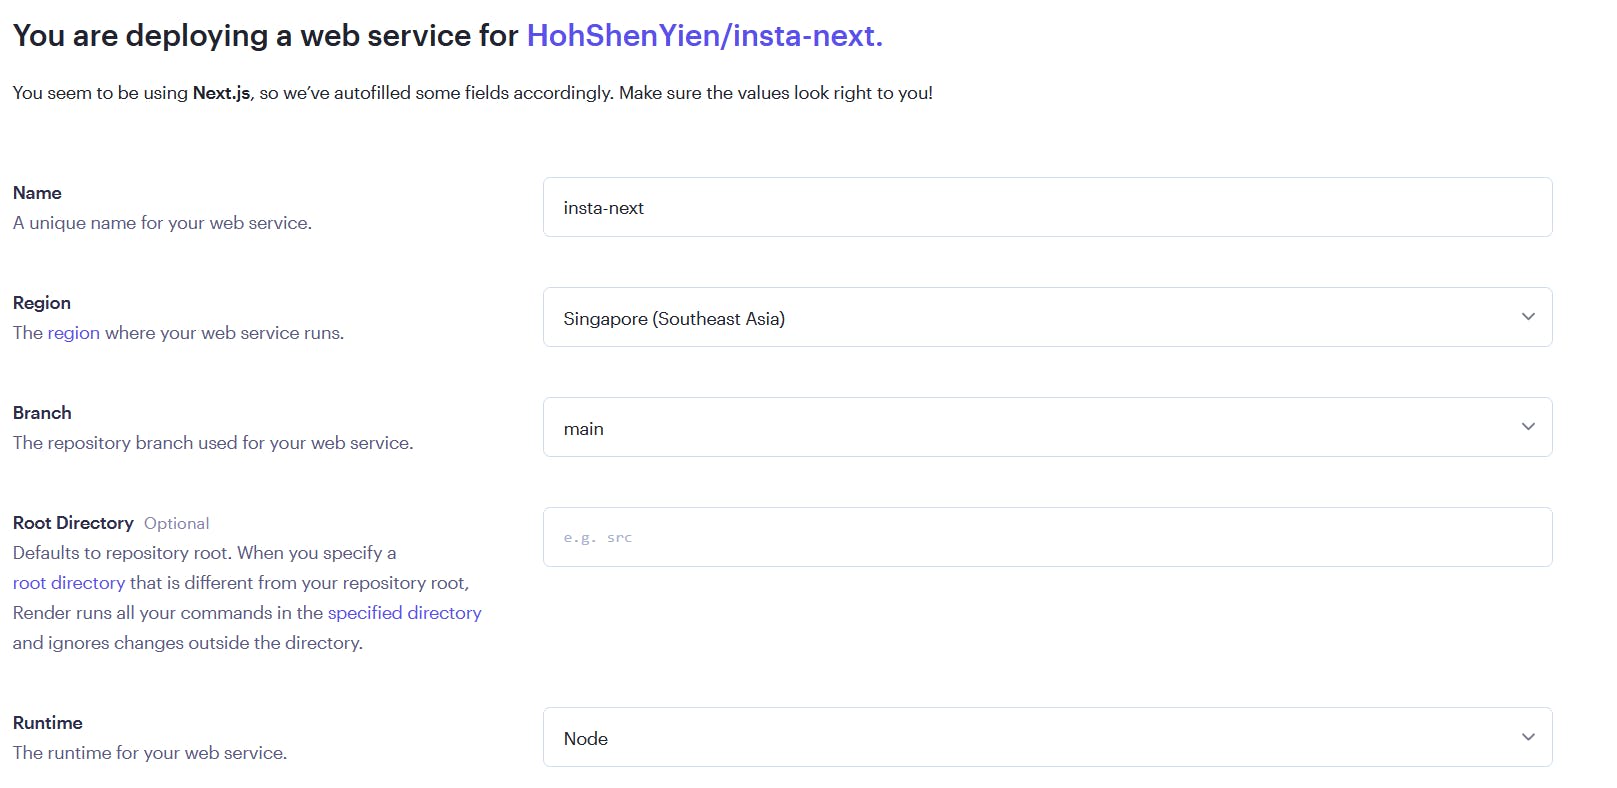
Since we are using docker here, update the Runtime to Docker

Besides, we will also use the free plan for this project.
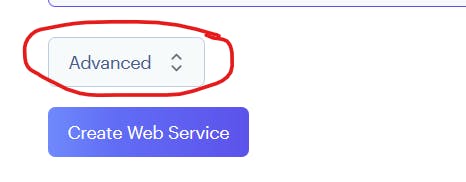
Next, scroll all the way down to find this advanced option, click to open it.
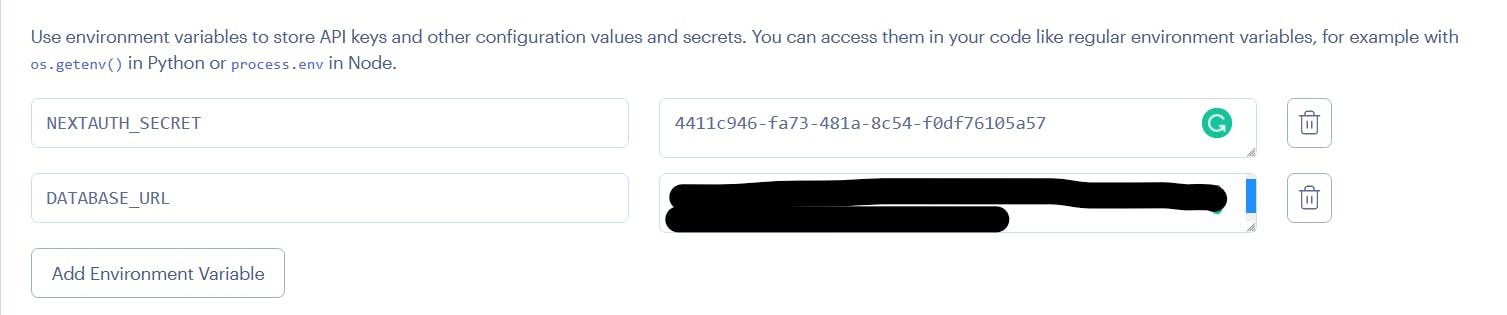
The first option will be Environment Variable, let's set both DATABASE_URL and NEXTAUTH_SECRET properly. They should look like this at the end
The next option is the Dockerfile Path. Remember that we put them in ./docker/Dockerfile? Write it down.

Deployment
And that's basically it! Scroll all the way down, and press Create Web Service. The deployment will begin now.
Sit back and relax. Take a sip of water while waiting for it to build.
PS: It'll probably take up to 10 mins, so might as well browse some Reddits...
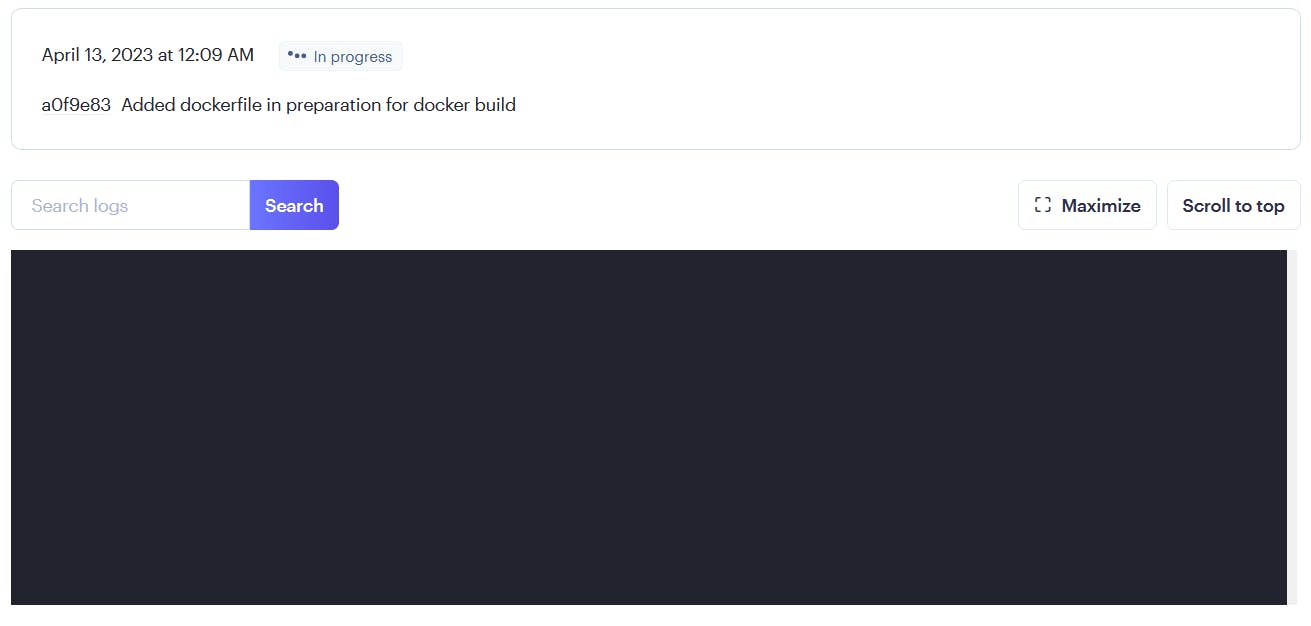
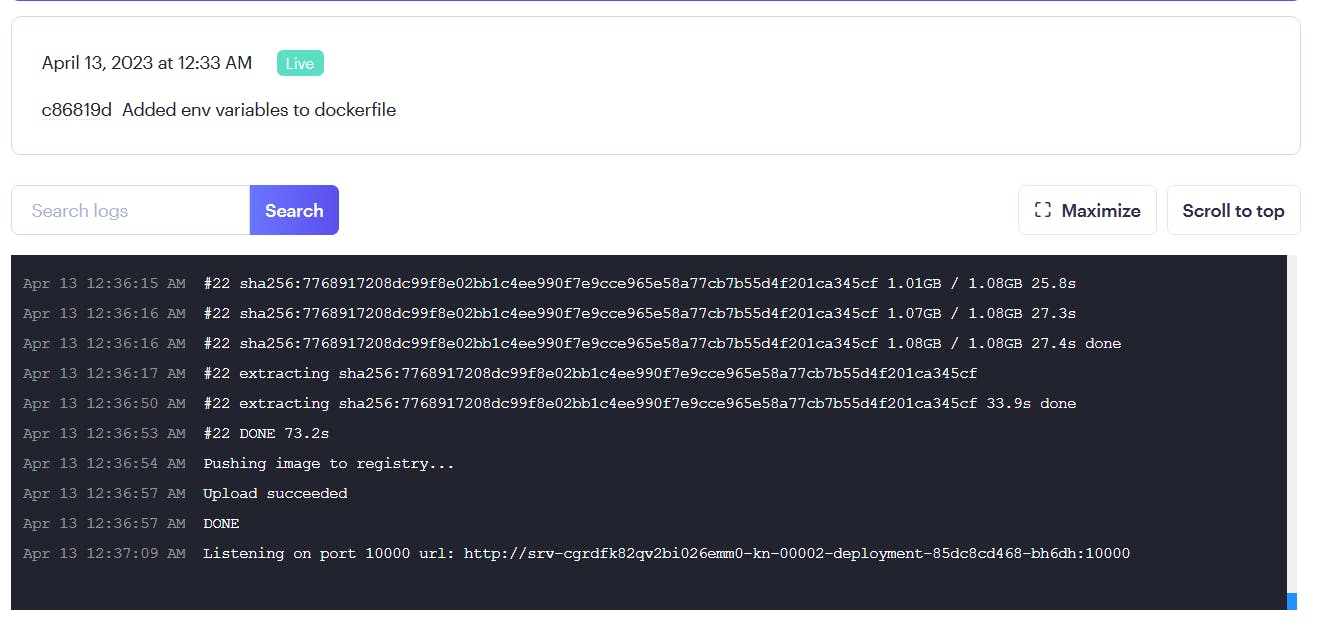
After a while, the deployment will be successful!
Yes, I fixed some Dockerfile stuffs in between, that's why the commit changed.
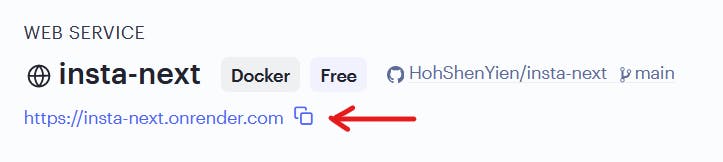
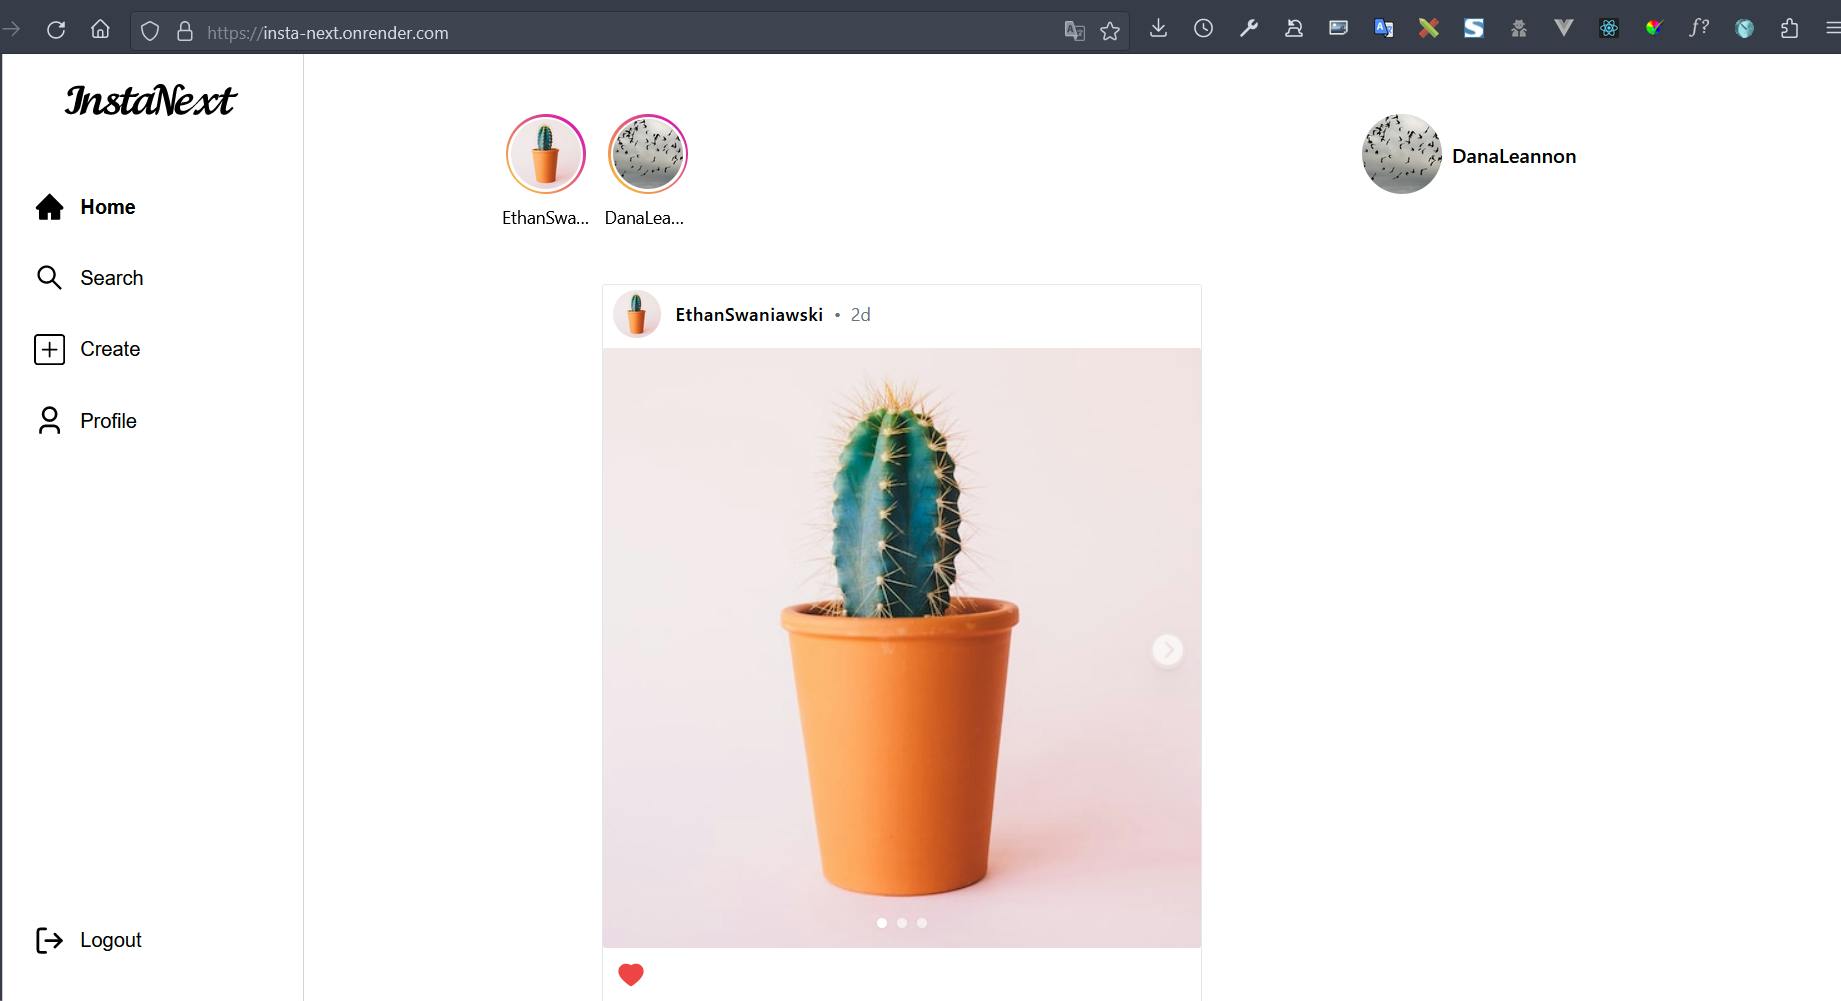
You can now check out the website on the link above, it's https://insta-next.onrender.com for me.
And once again, everything is working fine!
Note that we don't need to manually deploy the project on Render anymore unless you're changing the build process. Render has set up a deploy hook that will be triggered whenever there's a new commit to main branch, so the project will be redeployed with every new commit.
Render might be a bit slower in performance because unlike Vercel, the web service will be placed to sleep while inactive. Refer Render's docs.

Summary
In this part, you have successfully deployed the Next.js app that we built online. I have shown you two methods here, using Vercel and Docker.
Deploying on Vercel is pretty much trivial aside from the need of setting up the Environment variables.
Meanwhile, deploying using Docker might be harder depending on your experience with Docker. For example, if you didn't know about ARG, you might be having a hard time getting the environment variables to work even with the Dockerfile template.
Nevertheless, Render's UI is quite intuitive, so after creating the Dockerfile, the deployment process should be smooth.
In addition, I've also shown you how to deploy your Prisma schema to a remote database on Elephant SQL.
I hope you have learned a few things here today! Feel free to check out the complete codes for this part on GitHub.
By now, I have completed all the basic features of InstaNext, so even I don't know what I will write for the upcoming parts, do stay tuned for them!